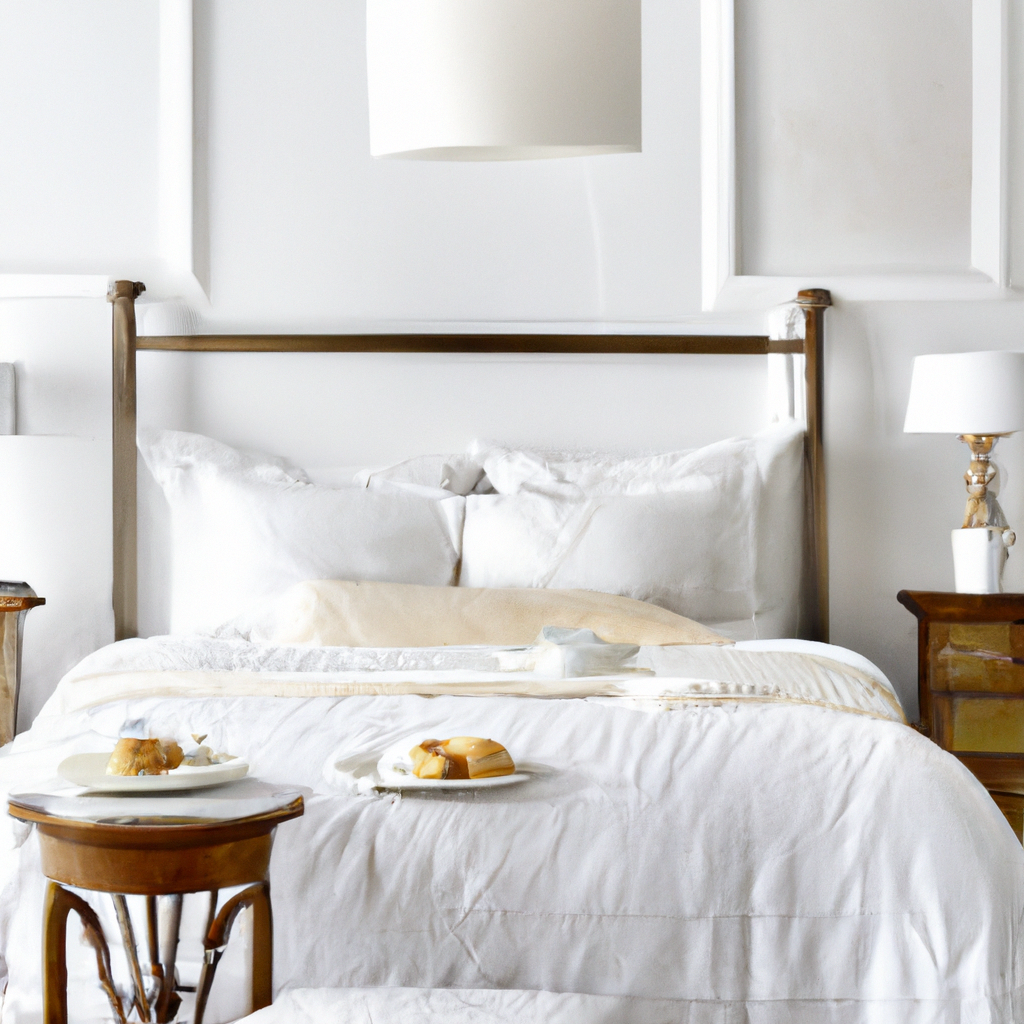
Have you been feeling like your bedroom could use a little refresh? Maybe you’re ready to add a touch of style and comfort to your sleeping space without breaking the bank. Well, look no further than upgrading your bedroom with DIY headboards! This simple yet impactful project can transform the look and feel of your room, giving it a cozy and personalized touch that reflects your unique style.
DIY headboards are a fantastic way to infuse creativity into your bedroom decor while also being budget-friendly. Plus, the satisfaction of crafting something beautiful with your own hands is truly rewarding. Whether you prefer a rustic wooden headboard, a tufted upholstered design, or a minimalist modern look, there are endless possibilities to suit your taste and skill level.
To get started, think about the style and aesthetic you want to achieve with your DIY headboard. Pinterest and home decor magazines can be great sources of inspiration. Once you have a vision in mind, it’s time to gather your materials. Depending on the design you choose, you may need plywood, fabric or paint, foam padding, nails, screws, a staple gun, and other basic tools. Make sure to measure your bed frame beforehand to ensure your headboard will fit perfectly.
One popular and relatively simple DIY headboard idea is the reclaimed wood plank design. This rustic look adds warmth and character to your bedroom. You can use old pallets or barn wood to create a unique headboard that tells a story. Simply cut the wood to your desired width and height, sand it down for a smooth finish, and attach it to the wall behind your bed using nails or a French cleat hanger for easy installation.
If you prefer a softer and more luxurious headboard, consider making a tufted upholstered piece. This elegant design can be achieved with plywood, foam padding, batting, fabric, buttons, and a staple gun. Cut the plywood to size and attach foam padding and batting to create a plush surface. Then, carefully wrap and secure your fabric around the foam and plywood, tufting the fabric and adding buttons for a classic look. Finally, mount your upholstered headboard to the wall or directly to the bed frame for a polished finish.
For those who love a sleek and modern aesthetic, a minimalist floating headboard might be the perfect choice. This design appears to “float” on the wall behind your bed, creating a clean and contemporary look. To achieve this style, you’ll need a large piece of plywood, stain or paint for finishing, and a mounting bracket to secure the headboard to the wall. Simply stain or paint the plywood to your liking, attach the mounting bracket, and hang the headboard at your desired height for a striking effect.
No matter which DIY headboard design you choose, be sure to personalize it to reflect your individual style and preferences. Add decorative elements like string lights, artwork, or a floral garland to enhance the overall look. You can also experiment with different textures, colors, and patterns to create a truly customized piece that speaks to your personality.
In conclusion, upgrading your bedroom with DIY headboards is a fun and creative way to elevate your sleep space. Whether you’re a seasoned crafter or trying your hand at DIY projects for the first time, this budget-friendly and customizable home decor idea is sure to bring a fresh new vibe to your bedroom. So roll up your sleeves, gather your materials, and get ready to transform your space with a personalized headboard that will make your room feel cozy and inviting.
