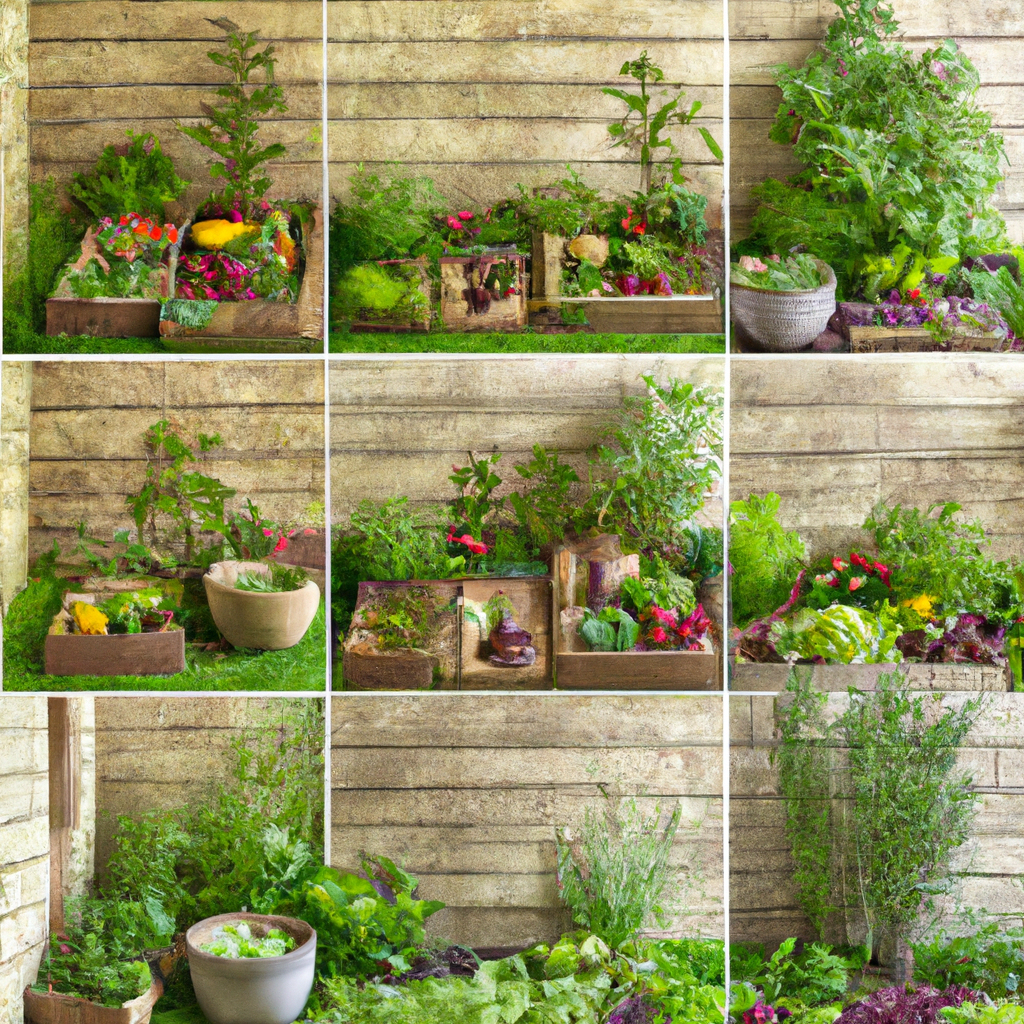
If you’re looking to spruce up your outdoor space and dive into the world of gardening, DIY raised garden beds are a fantastic way to get started. These elevated planting boxes offer a range of benefits, from providing better soil drainage to preventing pesky critters from feasting on your crops. Best of all, they’re customizable and relatively easy to construct, making them a perfect project for both experienced gardeners and novices alike. In this article, we’ll guide you through the process of building your very own DIY raised garden beds for easy care.
Before you begin your project, consider the location of your raised beds. Choose an area in your yard that receives ample sunlight and is easily accessible for regular maintenance. Keep in mind the types of plants you wish to grow as different varieties require varying amounts of sun exposure.
The materials you’ll need for this project are simple and readily available at your local hardware store. You’ll need lumber for the frame – untreated cedar or redwood are popular choices due to their natural resistance to rot. Additionally, you’ll need screws, a saw, measuring tape, and a drill. Don’t forget to also pick up some weed fabric to line the bottom of your raised bed to prevent invasive weeds from taking over your garden.
Now, let’s dive into the step-by-step process of building your DIY raised garden beds. Start by determining the size and shape of your beds. Rectangular beds are the most common and practical choice for maximizing space and ease of access. Once you have your dimensions figured out, cut your lumber to size using a saw.
Next, assemble the frame of your raised bed by screwing the boards together at the corners. Make sure to pre-drill holes to prevent the wood from splitting. Double-check that your corners are square to ensure a sturdy structure. For added stability, you can insert a stake into each corner of the bed and secure them with screws.
After your frame is assembled, place the weed fabric at the bottom of your raised bed to inhibit weed growth. This step will save you time and effort in the long run by minimizing the need for weeding. Once the fabric is in place, position your raised bed in its designated spot in your garden.
Now comes the fun part – filling your raised bed with soil! Choose a high-quality potting mix or create your own blend by combining topsoil, compost, and organic matter. Fill your raised bed to the brim, ensuring that the soil is evenly distributed and level.
Before you start planting, water the soil thoroughly to establish a moist foundation for your plants. Raised beds tend to drain water more efficiently, so regular watering will be essential to keep your garden thriving. Now it’s time to get creative and start planting your favorite flowers, herbs, or vegetables in your newly built raised bed.
Remember to regularly inspect your raised garden beds for weeds, pests, and signs of nutrient deficiency. Prune and fertilize your plants as needed to promote healthy growth and bountiful harvests. With proper care and attention, your DIY raised garden beds will be a beautiful and productive addition to your outdoor space.
In conclusion, building DIY raised garden beds is a rewarding project that can enhance the beauty of your garden while providing a practical solution for easy care and maintenance. Whether you’re a seasoned gardener or a novice enthusiast, creating your own raised beds is a satisfying and fulfilling endeavor that will yield a bumper crop of fresh produce and vibrant blooms. So roll up your sleeves, grab your tools, and get ready to cultivate a thriving garden right in your own backyard. Happy gardening!
